Blender Project: Ocarina of Time

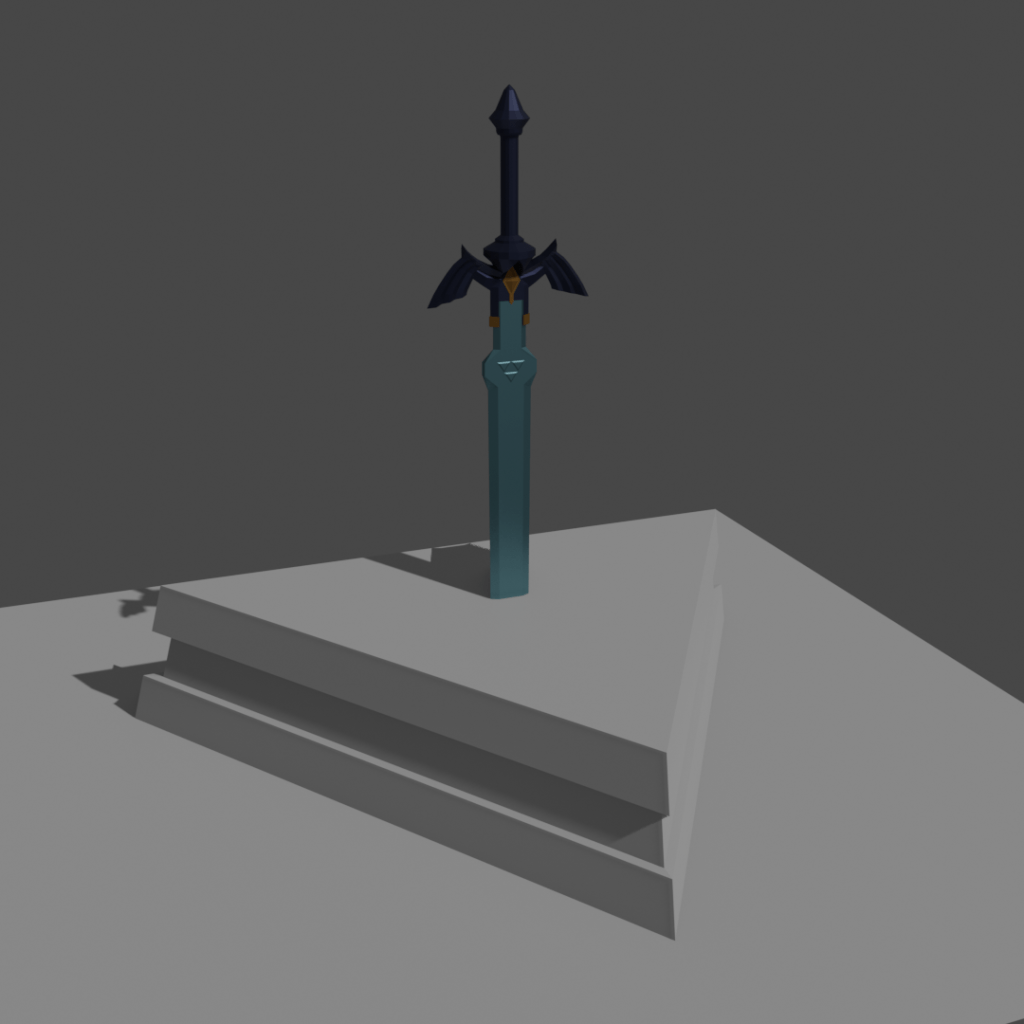
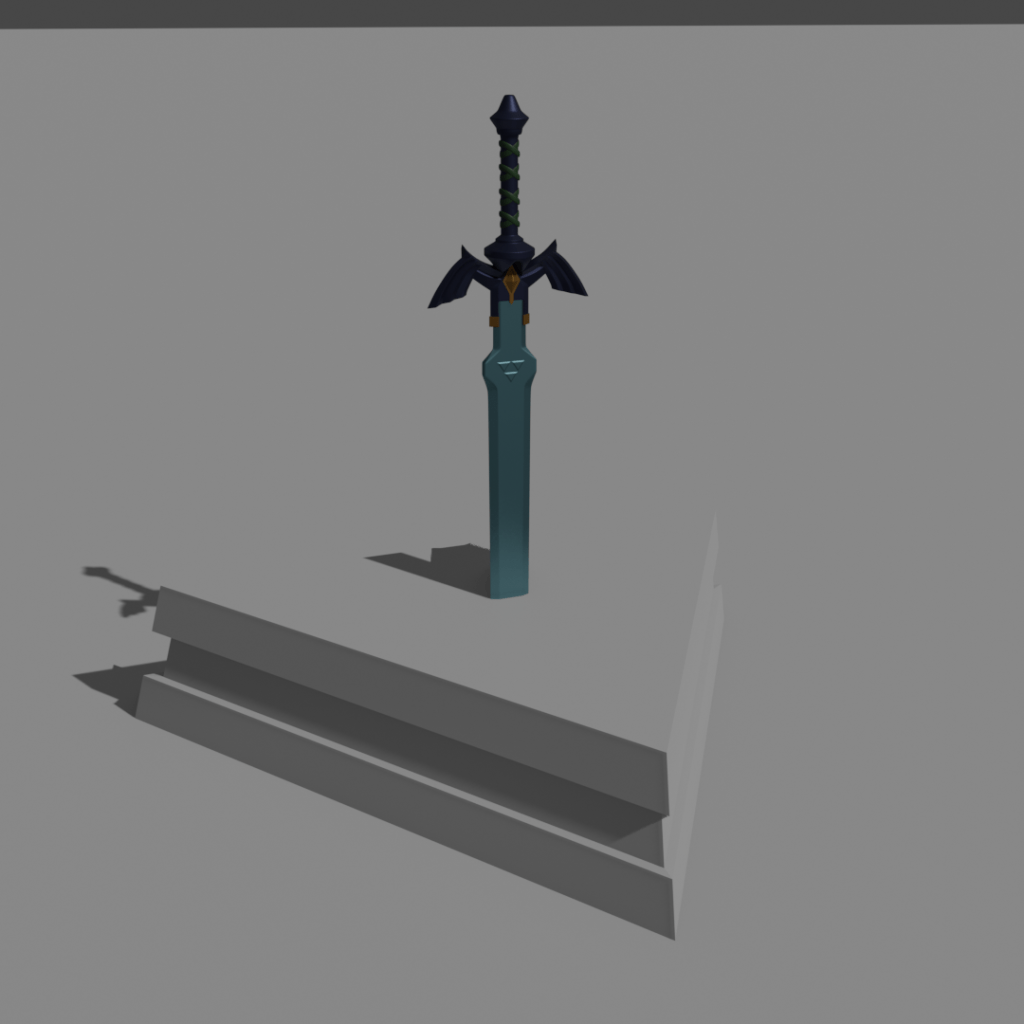
Continuing on from my Master Sword render in January, I decided to continue with a Zelda theme for my next project. I thought the Ocarina of Time was going to be fairly simple to create, but to be honest it was a real struggle. My main issue was topology, specifically trying to handle the holes and the Triforce.

My original plan was to make the Triforce part of the same mesh as the Ocarina, except that it was embossed into the material. It took me a few evenings and I just couldn’t figure out the topology for it, which is a shame.

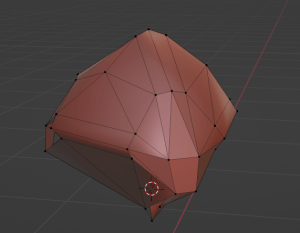
I also decided to use the subdivision surface modifier for this render as practice. I didn’t really enjoy it. I found playing around with the mesh to make the subdivided render look correct was very tedious. Also it doesn’t really match what I want to do with 3D modelling, which is to be able to make simple game meshes. I did use the subdivision surface for this project, but in the future I’m going to just do standard modelling.

After scrapping the original project after a few days, I made a simpler version where the Triforce was simply a different object on top of the Ocarina. It doesn’t have the effect I wanted, but it still looks okay.

Trying to model the holes was frustrating too, but I at least learned about using Loop Tools in Blender. These are a set of extra tools that includes a way to turn a vertex into a circle. I used this to create the circles where the holes should be, then I extruded them in, scaled them and transformed them to give the illusion that you’re looking inside the Ocarina. In reality, it’s just a cylinder.

I made some very simple materials, and added an animation. And here we are!

The Ocarina of Time spinning around.

I really did want this project to turn out better. I was just stretched for time this month and ran into so many weird topology issues that I couldn’t quite hit the bar I wanted. I haven’t even started prototyping the game I want to make, so I’m going to take a break from Blender until after I release my game. Hopefully that means I’ll finish the remaining 9 renders after October, and I’ll have gained more Blender experience by making the simpler assets for my game.

If you’re reading this and you have any advice or comments on how I could have made this render better, please let me know! I’d love to hear your thoughts.

Thanks for reading!

Blender Project: Master Sword

For my second blender project this year I wanted to try and make the Master Sword from The Legend of Zelda. I’m very happy with how the model turned out, but I wish I could have made the render look a bit more polished. Currently I’m working on an underpowered laptop because of my move to the UK. This has made the iteration times very long between test renders, so I didn’t have the time or processing power to learn how to make more photorealistic materials.

I’m happy with how the glow turned out, although perhaps it’s a bit too much? Either way I think it looks pretty cool. I’m sure there’s a lot to be done with the lighting and composition to make it a more interesting render, but I’m happy with how it turned out from the perspective of a beginner.

I thought it would also be interesting to upload some WIP pictures where you can see how I refined the shape of the Master Sword and then began adding the simple BSDF materials.

The middle ones have quite subtle changes – they’re mainly subdivision surfaces and changes in lighting. I also was originally going to try rendering the Master Sword resting in the stone, but I decided against it since I didn’t have enough time. I got what I wanted from this project and overall I’m quite happy with it!

Blender Project: Jak and Daxter Power Cell

One of my goals this year is to make 12 Blender renders, and this is my first one. If you’re unfamiliar with the first Jak and Daxter game, the goal is to collect all of the power cells scattered throughout the levels. I always liked the look of these, and they seemed like a simple enough beginner project to practice modelling.

This took me about a week of working on and off during the evenings. I spent a bit longer on it than I would have liked and the results aren’t exactly what I hoped for. The hardest part was getting the model correct for the orbiting parts. I was able to setup the top one and use the same modelling data for the other three, so I wouldn’t have to duplicate my work. But as you can see below, I went through a few iterations before I could settle on a topology that worked.

I’m happy with how the model itself turned out, but I didn’t get much of a chance to add VFX, tweak materials and polish the animation to what I envisioned at the start of the project. In the future I think I’ll work on projects that focus on specific facets of 3D art. Such as a project with a simple model but complicated VFX, or a complicated photorealistic material.